Studio Wall Tile: Save 30% by DIY-ing Your Renovation
"Replacing your studio apartment's walls is easier than you think—here's how a beginner can tackle it without a contractor."
To successfully update your studio walls, you must first select a material that matches your space's humidity levels and then follow a strict sequence of removal, preparation, and application.
Most beginners succeed by choosing user-friendly materials like vinyl or thin ceramic and ensuring the underlying surface is completely smooth before starting.
Key Takeaways * Estimated Costs: Wall tile replacement averages between $200 and $500 for a 200 sq ft studio. * Savings Potential: Approximately 60% of DIYers save between 20% and 30% compared to hiring professionals.
* Material Guide: Choose 12–16mm ceramic for durability, 3–5mm vinyl for ease, or 6–8mm porcelain for high-end finishes. * Critical Success Factors: Always perform a "wall tile test" and ensure material water resistance matches your room's environment.
How to Choose the Right Wall Tile for Your Studio?
At noon, I stood in the cramped kitchenette and felt the biting chill of the damp, peeling wall against my palm.
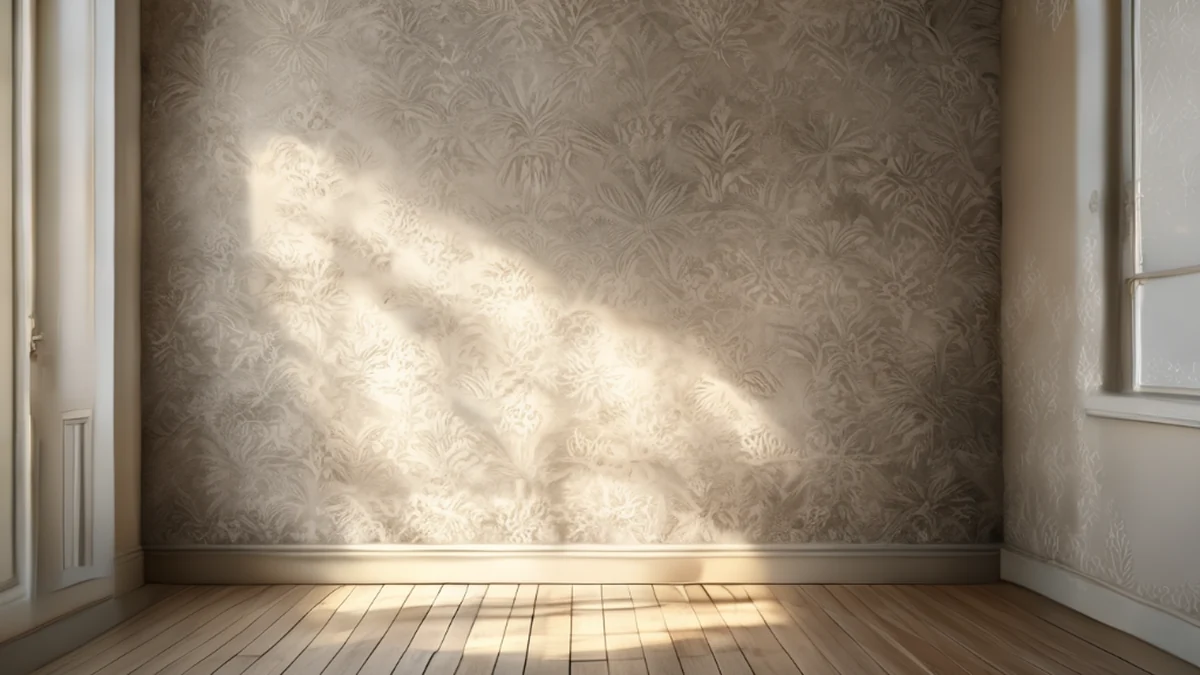
I remember standing in the middle of my first tiny studio, staring at a stained, peeling accent wall that made the whole room feel cramped and dim. The fluorescent light from the kitchenette hit the uneven surface, making the space feel more like a dorm than a home.
According to the JCHS of Harvard University, homeowners spent $472 billion on home renovations in the third quarter of 2024.
Selecting the right material is the most important decision you will make for your renovation. If you choose something too heavy or difficult to cut, you might end up with gaps that ruin the aesthetic.
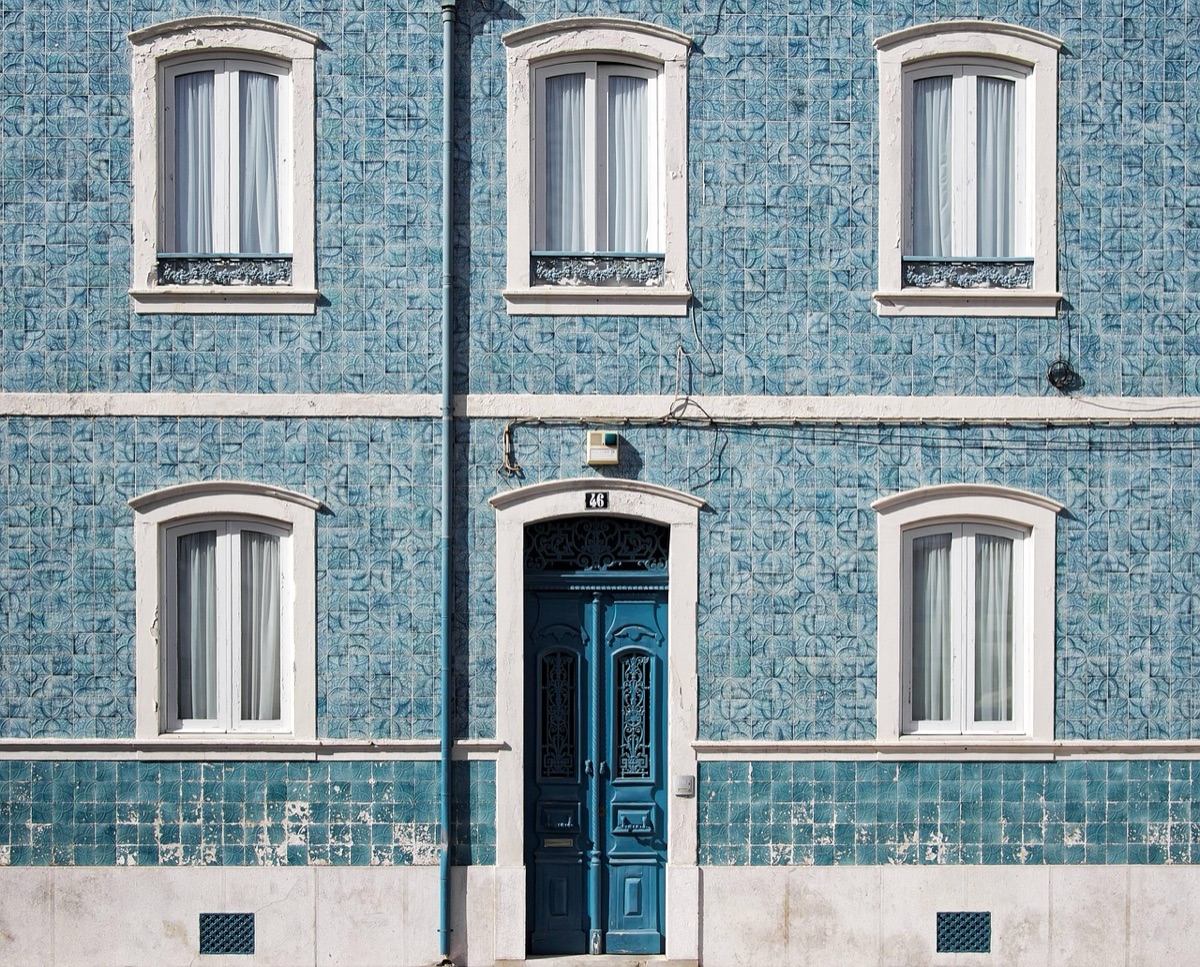
For those seeking a balance of durability and classic looks, ceramic tiles are a standard choice, typically measuring between 12mm and 16mm. These are excellent for kitchen backsplashes where grease and heat are factors.
If you are working with a very tight budget or want a project that takes only a few hours, vinyl tiles are highly effective. These are much thinner, usually ranging from 3mm to 5mm, making them much easier to handle for a beginner.
For a more premium, high-end feel that can withstand heavy use, porcelain is the way to go. You should look for porcelain tiles in the 6mm to 8mm thickness range to ensure they provide enough substance without being overly heavy for a studio wall.
It is worth noting that while vinyl is easy, it has limitations. Research suggests that about 25% of vinyl tiles fail in humid areas, so if you are tiling a bathroom or a space near a shower, proceed with caution.
| Tile Type | Thickness | Best Use Case | Difficulty Level |
|---|---|---|---|
| Ceramic | 12–16mm | Kitchen/General | Moderate |
| Vinyl | 3–5mm | Decorative/Dry Areas | Low |
| Porcelain | 6–8mm | High-Moisture/Premium | Moderate/High |
What Supplies Do I Need to Get Started?
The sun is beginning to set, casting long shadows across the floor as I lay out my tools on a drop cloth. My hands are slightly dusty from clearing the workspace, and the smell of old adhesive is still faintly in the air.
A Data Center Energy Usage Report from the Lawrence Berkeley National Laboratory estimated that hyperscale and colocation centers contained 74% of the computer servers in 2023.
Before you begin, gather these essential items to avoid mid-project trips to the hardware store:
- Removal Tools: A heavy-duty putty knife, a small hammer, and a chisel. 2. Surface Prep: Sandpaper (medium grit), a damp cloth, and a high-quality primer. 3. Installation Gear: Tile adhesive (aim for a 1:1 mix ratio for consistency), a notched trowel, and spacers. 4. Safety Equipment: Work gloves, safety goggles, and a dust mask. 5. Cutting Tools: A tile cutter or a wet saw (depending on the material chosen).
Step-by-Step: The Professional Way to Tile a Studio Wall
I sat on the floor for twenty minutes just looking at the grid of the old tiles, realizing that the secret wasn't in the sticking, but in the cleaning. Once I started, the rhythm of the work became much clearer.
Follow this sequence to ensure a professional finish:
- Remove the Old Surface: Carefully use your hammer and chisel to pry off the existing tiles or wallpaper. Work in small sections to prevent unnecessary damage to the drywall underneath. 2. Clean and Smooth: Once the old material is gone, use your putty knife to scrape away leftover adhesive. Sand the wall until it feels smooth to the touch, then wipe it down with a damp cloth to remove all dust. 3. Apply Primer: This is the step most beginners skip. Applying a primer ensures the new adhesive bonds strongly to the wall rather than just sitting on top of the dust. 4. Mix the Adhesive: Combine your adhesive following the manufacturer's instructions. For many standard applications, a 1:1 mix provides the necessary consistency to prevent the tiles from sliding. 5. Set the Tiles: Using the notched trowel, spread a thin layer of adhesive on the wall. Press your tiles into the adhesive, using spacers to keep the gaps even. 6. Grout and Clean: Once the tiles are set, fill the gaps with grout. Wipe away the excess with a damp sponge before it hardens completely.
What Are the Most Common Mistakes to Avoid?
The clock on the wall ticks loudly in the silence of the apartment as I realize I forgot to check the level of my first row. One slight tilt at the bottom means the entire wall will look crooked by the time I reach the ceiling.
Even with a plan, things can go wrong. Watch out for these specific pitfalls:
* Skipping the "Wall Tile Test": This is a major hurdle for DIYers. Approximately 20% of people fail this step, which involves testing a small, inconspicuous area to ensure the new material adheres properly to the old substrate. * Underestimating Humidity: As mentioned earlier, if you use vinyl in a high-moisture area, you risk the material peeling or warping. * Inconsistent Adhesive Mixing: If your mix is too thin, the tiles will sag; if it is too thick, you will struggle to spread it evenly. * Ignoring the Level: Always use a spirit level. If your first row isn't perfectly horizontal, the visual error will compound as you move upward.
How Can I Adjust This for Different Budgets?
I looked at my bank balance and then at the expensive marble samples at the store, realizing that "luxury" doesn't always have to mean "expensive." It's about how you use what you have.
The International Energy Agency estimated that electricity consumption from data centers amounted to around 415 terawatt hours in 2024.
If you are on a strict budget, focus your spending on the areas that are most visible, such as the backsplash in the kitchenette. You can use inexpensive vinyl tiles for the rest of the studio walls to create a cohesive look without breaking the bank.
For those with a bit more to spend, investing in porcelain tiles will provide a much longer-lasting result. While the upfront cost is higher, the durability means you won't have to redo the project in two years.
Budget Breakdown Comparison
- Minimalist Budget ($200 - $250): Focuses on vinyl tiles and basic adhesive. Best for renters who want a temporary change. 2. Mid-Range Budget ($300 - $400): Includes ceramic tiles and high-quality grout. Ideal for long-term studio residents. 3. Premium Budget ($450 - $500+): Utilizes porcelain tiles and specialized primers. Best for those looking to increase the property value or permanent residence.





Comments 0